Almost every food-curious person has attempted homemade hummus. It's the gateway Mediterranean recipe — supposedly simple, minimal ingredients, ancient technique. And yet the result, more often than not, is something that's fine but not transcendent. It tastes like chickpeas. It has some tahini flavor. But it doesn't have that silky, almost airy texture. It doesn't have that deep, round flavor that makes you want to drag every piece of pita through the bowl until it's empty. Something is missing, and most recipes don't tell you what that is.
After years of making hummus in our kitchen at Taza Shawarma & Falafel in Falls Church, VA, we can tell you exactly what's missing — and it's not some exotic secret ingredient. It's a series of small, specific techniques that compound into a dramatically better result. Fix these, and your hummus will never be merely "fine" again.
Problem #1: You're Starting With Canned Chickpeas (And Not Treating Them Right)
Canned chickpeas are perfectly acceptable — we're not here to be ingredient snobs. But if you're using them straight from the can, you're skipping a crucial step. Dried chickpeas soaked and cooked from scratch produce a creamier, more flavorful hummus. If you must use canned (and honestly, most weeknights, you should — time matters), you need to do two things: drain and rinse thoroughly to remove the metallic, starchy canned liquid, and then cook them further in a pot of fresh water for 20-30 minutes with a half teaspoon of baking soda.
Did You Know?
The baking soda trick is not optional. It raises the pH of the cooking water, which breaks down the pectin in the chickpea skins and makes them dramatically softer. Softer chickpeas blend into a smoother, silkier hummus. This single step explains a large portion of the gap between home hummus and restaurant hummus.
Pro Tip
After cooking the chickpeas with baking soda, rub them between your palms or two paper towels to remove the skins. This sounds tedious, but it takes about five minutes for a standard can of chickpeas and it produces noticeably smoother hummus. Professional kitchens do this — it's worth the effort for a special batch.
Problem #2: Your Tahini Is Wrong
Not all tahini is created equal — and this matters more than almost any other single variable in hummus quality. Bad tahini is bitter, chalky, and one-dimensional. Good tahini is nutty, slightly sweet, deeply savory, and rich with sesame complexity. The difference comes from the quality and freshness of the sesame seeds and how they're processed. Look for tahini made from hulled (not unhulled) sesame seeds — unhulled tahini has a more bitter flavor that overwhelms the hummus. Israeli and Palestinian brands tend to be excellent: Soom, Al Wadi, and Har Bracha are widely regarded as some of the best available in the US.
- Check the expiration date — old tahini becomes increasingly bitter and rancid
- Always stir tahini before using; the oil separates and needs to be incorporated
- Store opened tahini in the refrigerator to extend freshness
- Good tahini should smell nutty and pleasant, not sharp or rancid
- Single-origin Ethiopian sesame tahini (like Soom) has exceptional flavor depth
Problem #3: You're Adding the Olive Oil Too Early
This one surprises people. The common instinct is to blend everything together at once — chickpeas, tahini, lemon, garlic, olive oil, all in the food processor, hit blend, done. But this approach produces a denser, heavier hummus. The reason is that olive oil emulsifies differently when added early versus late. When you blend chickpeas and tahini first — a very long blend, longer than you think is necessary — you're creating a base that's already begun to aerate. Adding cold water during this stage makes it even fluffier. Then, when you drizzle in olive oil at the very end, the emulsification happens into an already-light base, keeping the texture airier.
The secret is time in the food processor. Most people blend for 90 seconds and think they're done. We blend for four to five minutes minimum. The hummus goes from grainy to smooth to silky — you can actually hear the texture change in the sound of the machine.
— Taza Kitchen, Falls Church
Problem #4: You're Not Using Enough Tahini or Lemon
Home recipes are often conservative with tahini because it's expensive and people are cautious about making something too rich. Restaurant hummus is not conservative with tahini. A proper restaurant-style hummus might use a 1:1 or even 2:1 ratio of tahini to cooked chickpeas by weight. That sounds like a lot — and it is — but the tahini is what gives hummus its distinctive flavor and mouthfeel. Pull back on tahini and you get something closer to mashed chickpeas.
Similarly, lemon is the bright, cutting contrast that keeps the hummus from tasting muddy and heavy. Use freshly squeezed lemon — never bottled — and use more than the recipe calls for. Start with the juice of one lemon per can of chickpeas, taste, and add more. Properly seasoned hummus should taste almost too lemony on its own, because you'll be eating it with bread and toppings that will balance it out.
Pro Tip
Make your garlic mellow before it goes in. Roasting a whole head of garlic (40 min at 400°F, cut top off, drizzle with oil, wrap in foil) transforms sharp, pungent raw garlic into sweet, buttery, gentle roasted garlic. Roasted garlic hummus has a deeper, more complex flavor without the harsh raw garlic bite that can overwhelm the chickpea and tahini flavors.
The Cold Water Method
Here's the technique that produces the truly creamy, almost whipped texture of restaurant-quality hummus: ice water. After your chickpeas and tahini have blended for a few minutes into a thick paste, start adding ice water — cold, not room temperature — a tablespoon at a time. The cold temperature and the mechanical action of the blender work together to create tiny air bubbles throughout the mixture. This is what makes hummus light and airy rather than dense and paste-like. Add water slowly and keep blending. The texture should visibly lighten as you go.
Did You Know?
For a batch made from one 15oz can of chickpeas, you'll typically add 3-5 tablespoons of ice water during blending. Add it slowly — you can always add more, but you can't take it back. The ideal consistency before chilling is slightly looser than you want the final product to be, because hummus firms up in the fridge.
Seasoning: The Final Calibration
Hummus needs to be seasoned assertively. This means enough salt that you can actually taste it — not saltiness, but the way salt makes every other flavor louder and more defined. It means enough lemon that there's brightness. It means tasting and adjusting multiple times, not just at the end, but throughout the process. Seasoning is not a step at the end — it's an ongoing calibration.
- Salt: kosher salt works best; add it to the chickpeas during cooking AND when blending
- Cumin: just a half teaspoon adds warmth and an earthy undertone without being identifiable
- Garlic: 1-2 cloves raw, or 4-5 cloves roasted — never garlic powder
- Lemon: always fresh; start with one full lemon and taste your way to more
- Tahini: err on the generous side — 1/3 to 1/2 cup per can of chickpeas
The Presentation: Where Home Hummus Goes Wrong Last
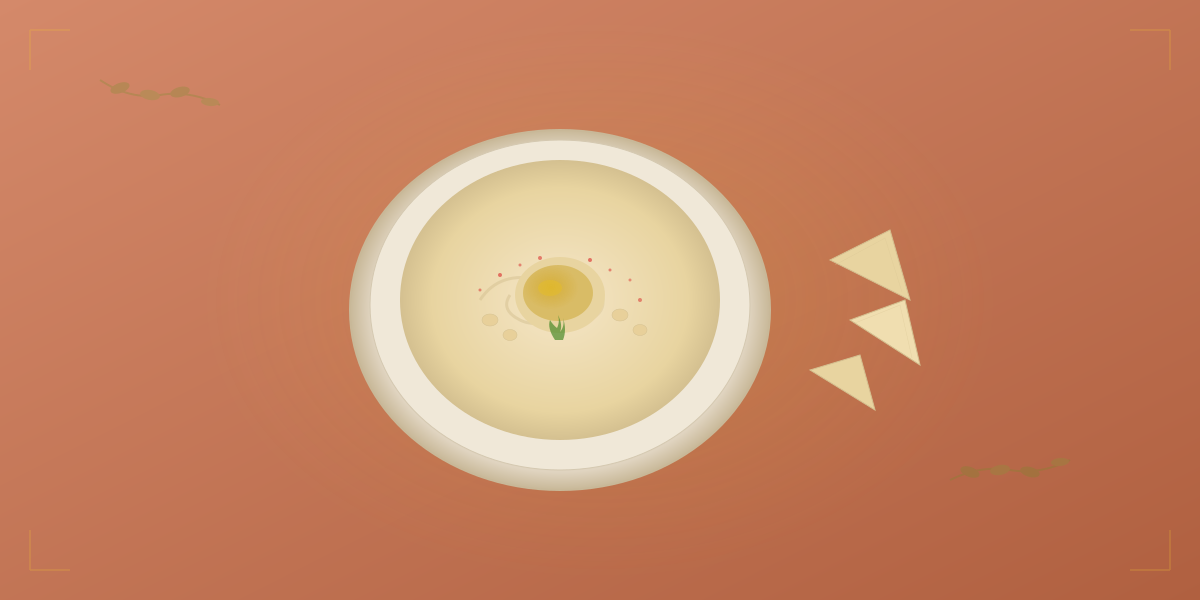
Restaurant hummus always looks better than home hummus, partly because of how it's plated. The classic technique: use a large spoon to scoop hummus into the center of a wide, shallow bowl or plate. Then press the back of the spoon against the surface and drag outward while rotating the bowl — this creates that characteristic swirled well. The well is not decorative; it's functional. It holds the toppings and the olive oil pooled in the center, making every bite more flavorful.
Pro Tip
Warm the plate or bowl slightly before plating hummus. A cold plate will chill the hummus immediately and firm it up too quickly. A slightly warm plate keeps the hummus at ideal serving temperature longer and looks more inviting when the olive oil sits in the well.
Classic Hummus Topping Combinations
- Traditional: olive oil pool, whole chickpeas, paprika, flat-leaf parsley
- Levantine: olive oil, za'atar, pine nuts toasted in butter, fresh lemon zest
- Spiced: harissa or chili oil swirled in, topped with roasted chickpeas and cumin
- Herbaceous: pesto-style with basil or sun-dried tomatoes and good olive oil
- Taza-style: warm spiced lamb or chicken over hummus, finished with parsley and sumac
Great hummus is patient hummus. It requires the right ingredients, longer blending times than seem necessary, and careful seasoning. None of it is technically difficult — it just requires attention and willingness to move slowly. When you get it right, you'll understand why people in the Levant have been eating this dish for thousands of years. It's one of those foods that rewards you every time you make the effort to do it properly. And if you want the benchmark to measure your home batch against, come visit us at Taza in Falls Church. We'll give you the real thing.